Hotel uniform durability: diagnose the weakest link
Diagnose fading, shrinkage, abrasion, seam damage and failed trims, then correct the specification behind premature hotel uniform failure.
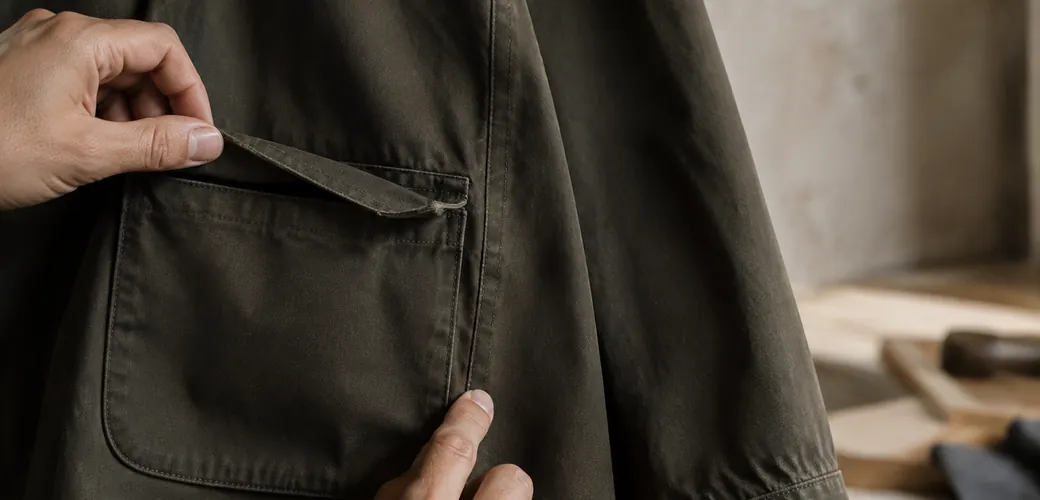
- Durability belongs to the whole garment system: fabric, colour, fit, seams, trims, care and repair.
- Begin with the visible symptom, then trace it back to the role, movement, wash route and construction.
- Lab methods, controlled wash trials, wearer trials and live inspections answer different questions.
- Correct and archive the source of failure so reorders reproduce the approved change.
Hotel uniform durability is the ability of a complete garment to keep its intended fit, function and appearance through the role and care process it was designed for. When a garment fails early, the cause may sit in the cloth, colour, fit, seam, pocket, fastener, wash route or repair decision, so inspect the weakest link instead of blaming fabric alone.
A useful durability review begins with the damaged garment. Read each visible symptom, compare it with the role and care history, choose the right evidence, then change the source of failure. This turns a replacement request into information that can improve the next sample and every later reorder.
Start with seven visible symptoms
Place the garment in good neutral light and inspect it from collar to cuff, pocket, side seam, seat, knee and closure. Record what you see before deciding why it happened. Fading or transferred colour, lost shape, surface wear, a torn pocket, an opening seam, a failed fastener and recurring tightness are seven useful symptom groups.
Keep the description factual. Write where the change appears, which role used the garment, which movement or load occurs there, and which care route the item followed. A pale fold line is different from overall colour loss. A pocket mouth that opens under tools is different from fabric that abrades against a counter.
Do not let one damaged item define the whole programme. Check whether the symptom appears in the same place on other garments, across one size, after one care route or within one role. Recurrence helps separate an isolated accident from a design, construction or process issue.
The hotel uniform fabric guide belongs earlier in the process because it defines the role and care brief. The fabric sample comparison method then tests shortlisted supplier cloths. This durability review begins when a finished garment shows a change that needs diagnosis.
Read colour failure as evidence
Colour failure can appear as general fading, local lightening, staining of another area or migration between contrasting components. First compare the affected garment with an unused control from the same approved batch when one exists. Then check whether the change follows exposed folds, high contact zones, a particular trim or the complete wash route.
ISO 105-C06:2010 describes methods for assessing colour fastness to defined domestic and commercial laundering procedures. It does not provide a pass result for the fabric in front of you. Ask for a report covering the offered fabric, colour and finish, then confirm whether its detergent system and procedure answer the hotel’s actual question.
An industrial route needs its own evaluation. ISO 15797:2017 provides washing and finishing procedures for evaluating workwear intended for industrial laundering. The standard also notes that testing in the actual intended equipment and process may be advisable when confirming final compatibility.
If colour changes only beside a dark facing, piping or embroidery, inspect the components together. Correcting the main fabric specification will not solve migration that starts in a trim.
Diagnose shape loss after care
Shrinkage is only one form of shape failure. A jacket may twist, a placket may ripple, a seam may pucker or a trouser may stop recovering at the knee and seat. Compare the garment with its approved measurements and construction rather than judging it only on a hanger.
ISO 5077:2007 specifies a method for determining dimensional change after an appropriate combination of specified washing and drying procedures. Use that evidence to ask a precise question about dimensions. It does not explain every change in fit because pattern balance, interfacing, lining, seam construction and mismatched component shrinkage can also alter the finished garment.
Review the care sequence as well as the final measurement. Drying, finishing and pressing are part of the route, and a garment may look acceptable after washing but distort during a later stage. If one panel, lining or trim behaves differently from the shell, record the mismatch and test the complete construction.
Recurring tightness needs a movement check. If the garment returns to its approved dimensions yet repeatedly pulls across the shoulder, seat or thigh during the same task, the issue may be pattern ease or role movement rather than dimensional change.
Trace surface wear to exposure
Pilling, shine, thinning and snagging describe different surface changes. Map each one to the place where it occurs. A polished elbow may follow repeated contact with a reception desk. A rough pocket edge may follow keys or tools. A snag on a housekeeping garment may point to a particular surface or fitting.
ISO 12947-2:2016 defines a Martindale procedure for determining specimen breakdown in applicable textile fabrics. That method can answer a controlled abrasion question, but it is not a universal prediction of garment life. The relevant exposure, fabric construction, finish, seam location and finished garment design still matter.
Compare the observed failure with the evidence available for the exact material. If the report covers a different colour, finish or construction, keep the gap visible. Then reproduce the relevant contact through a sample or wearer trial instead of converting a laboratory result into an unsupported service life claim.
Surface wear may also reveal a design opportunity. A pocket can move away from a repeated contact point, a seam can be redirected, or a replaceable component can protect the main garment. The correction should respond to the observed cause, not simply add weight everywhere.
Inspect seams pockets and fasteners
Open the garment and inspect both sides of every damaged construction point. At a seam, determine whether the thread broke, the stitch opened, the fabric slipped, the edge frayed or the surrounding cloth tore. These symptoms lead to different questions about seam type, allowance, thread, needle, reinforcement, fit and load.
ISO 13935-1:2014 addresses the maximum force required for seam rupture using a strip method. It helps separate seam performance from a general claim about fabric strength. Use the method and the relevant report as one part of the review, then inspect the actual pocket, corner, belt loop or side seam in the finished garment.
Fasteners require the same discipline. A broken button, distorted zip or detached snap may relate to the component, its attachment, heat and mechanical action during care, or tension created by fit. Record how the failure occurred before specifying a stronger replacement.
The PAMUUC hospitality case study shows one first party example of connecting role differences, fabric choices and operational use within a coherent wardrobe. It is project context, not evidence that one construction will perform the same way in another hotel.
Build an evidence ladder
Different checks answer different questions. A laboratory method isolates a defined property. A controlled wash trial shows how the complete sample responds to a chosen care route. A wearer trial reveals fit, movement, pocket access and recurring pressure. Live inspection shows how the issued programme changes across roles, shifts and real handling.
Use the evidence in sequence. Begin with the symptom and a clear hypothesis. Choose the method that can challenge it, compare the result with the approved brief, then decide whether to accept, repair, correct and retest, or reject the current construction.
Keep controls wherever practical. An unused garment from the approved batch, an approved prewash sample, measurement records and dated photographs can make differences easier to describe. These records do not replace testing, but they prevent a discussion from relying only on memory.
Do not combine unrelated findings into one durability score. Colour, dimensions, abrasion, seams, trims and wearer movement remain separate evidence streams until the team identifies the failure mechanism and its operational effect.
Correct the cause and archive the change
A hotel uniform failure map should connect symptom, garment, role, location, care route, recurrence, evidence, decision and owner. Add the approved correction and the sample or test that confirms it. If the team cannot yet identify the cause, record the open question instead of forcing a conclusion.
Change the smallest part of the specification that resolves the verified problem. That may mean a different seam, reinforcement at one pocket, more ease for a repeated movement, a compatible trim, a revised finishing process or a different material in one garment. A blanket material change can introduce new fit, touch, appearance or care problems.
Finally, return the approved correction to the master specification, pattern, bill of materials, care instructions and reorder record that need it. Archive the rejected version and the reason for the change so the same failure does not return when a new batch is produced.
Use the PAMUUC design process to connect failure evidence with sample development, or request a first meeting to review a current hotel uniform system. The useful outcome is not a repaired garment alone. It is a documented correction that the next garment can reproduce.
Related reading
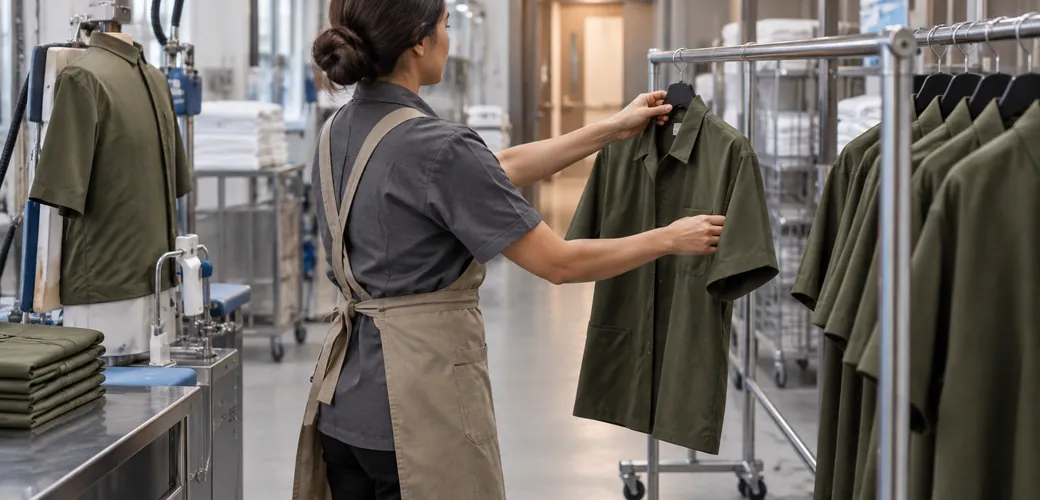
Hotel uniform laundry requirements
Map collection, sorting, washing, drying, finishing and return so hotel, laundry and supplier can approve one compatible uniform process.
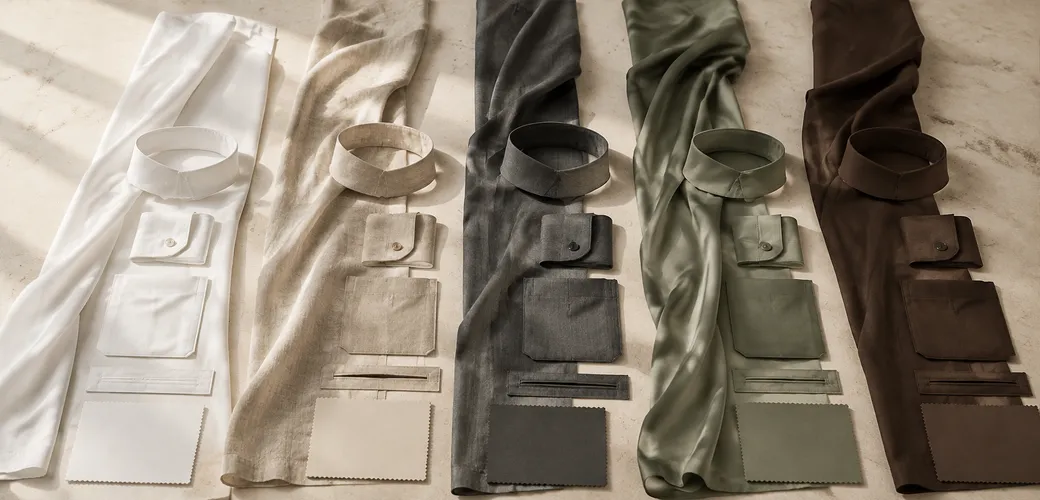
How to compare hotel uniform fabric samples
Use a practical scorecard to compare shortlisted hotel uniform fabric samples by appearance, movement, care evidence and finished garment testing.
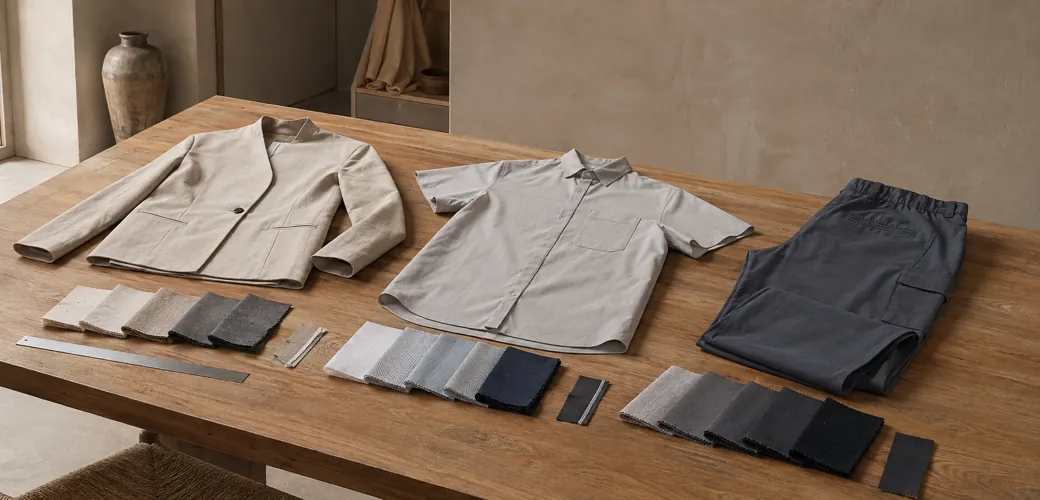
Hotel uniform fabric guide
A role-led guide for turning hotel laundry, climate, movement and appearance needs into a fabric brief suppliers can answer with evidence.
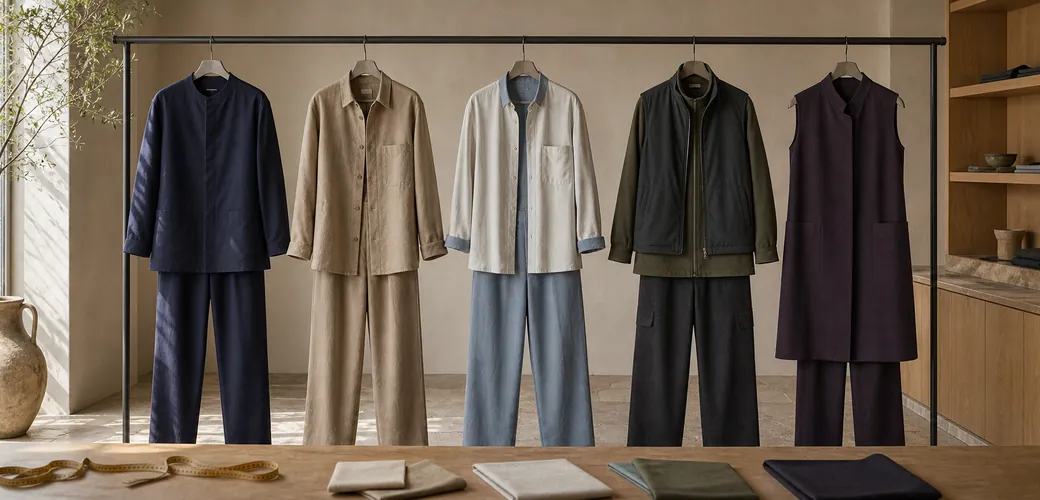
Hotel uniform design ideas that work
Five visual directions for hotel uniforms, each tested against real roles, climate, movement, care and continuity before it reaches the shortlist.

How to design hotel uniforms
A practical method for turning a hotel concept, team roles and operational needs into one coherent, supplier-ready uniform brief.

Custom hotel uniforms: design & durability
Discover how we designed custom uniforms for a five-star hotel in Barcelona, in line with the interior concept, using durable fabrics built for daily service.

Custom uniforms for dental clinics
A case study on how a premium dental clinic in Barcelona used custom uniforms to bring together space, brand image, and everyday use.
Uniforms for wellness studios
How to build a uniform system for wellness studio teams by aligning space, comfort, daily service, and fabric durability.